August 2022
NEW - Variable Data Tags for Personalization
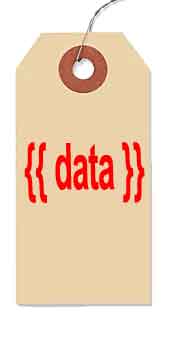
We are releasing a new feature relating to using variable data tags in all customer-facing elements of your LoyaltyLoop service. This feature is available in both Basic and Promoter plans, and is available in all signatures, emails and thank you pages. Use System Tags and Client Tags to personalize your customer communications.
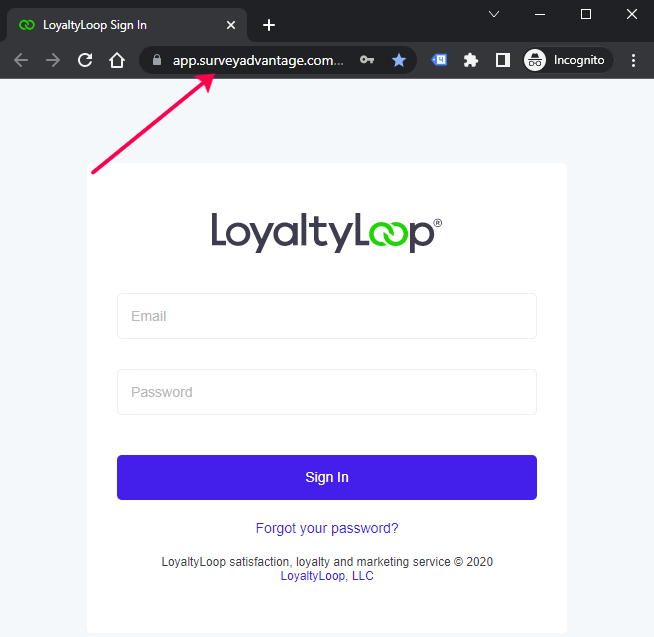
LoyaltyLoop is updating the app URL from app.surveyadvantage.com to app.loyaltyloop.com shortly. Learn how to update your password manager and bookmarks for the new URL to ensure seamless access to your LoyaltyLoop account.

Deploying a customer experience service like LoyaltyLoop generates high, sustained returns on investment. By helping you develop stronger customer relationships and deliver better customer experiences, you'll create more loyal customers, reduce expenses, increase sales, and strengthen your brand. LoyaltyLoop pays for itself!
As your survey uncovers new sales opportunities from your loyal customers, you can keep track of your sale status easily. Close out followed leads, move engaged leads to the Engaged box, and move closed leads back to your Inbox for more follow-up as needed.
From time to time it's a good idea to review your survey and ensure everything is up-to-date. To view your survey, click your username, Settings, then Survey Preview. Click through it as if you're a respondent to see how it appears to your customers.